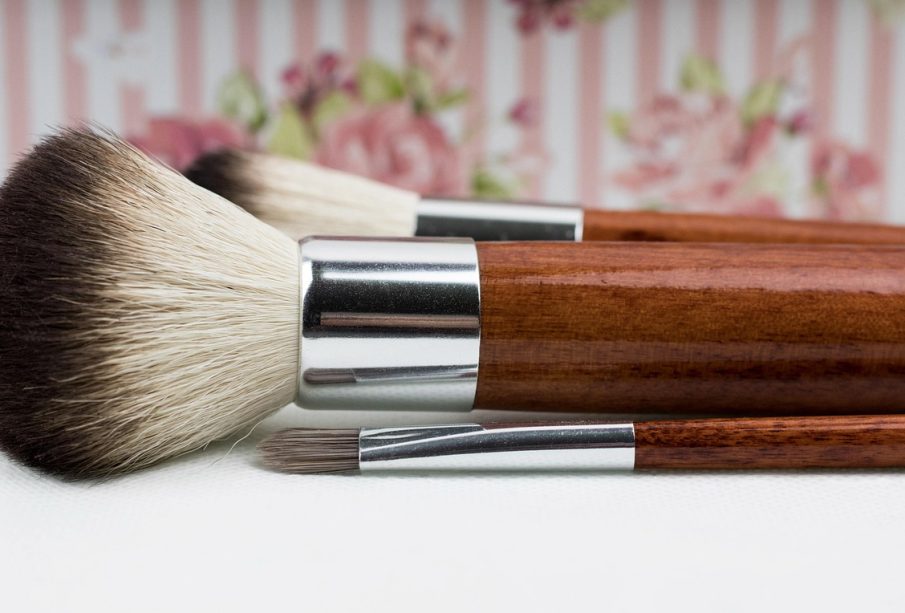
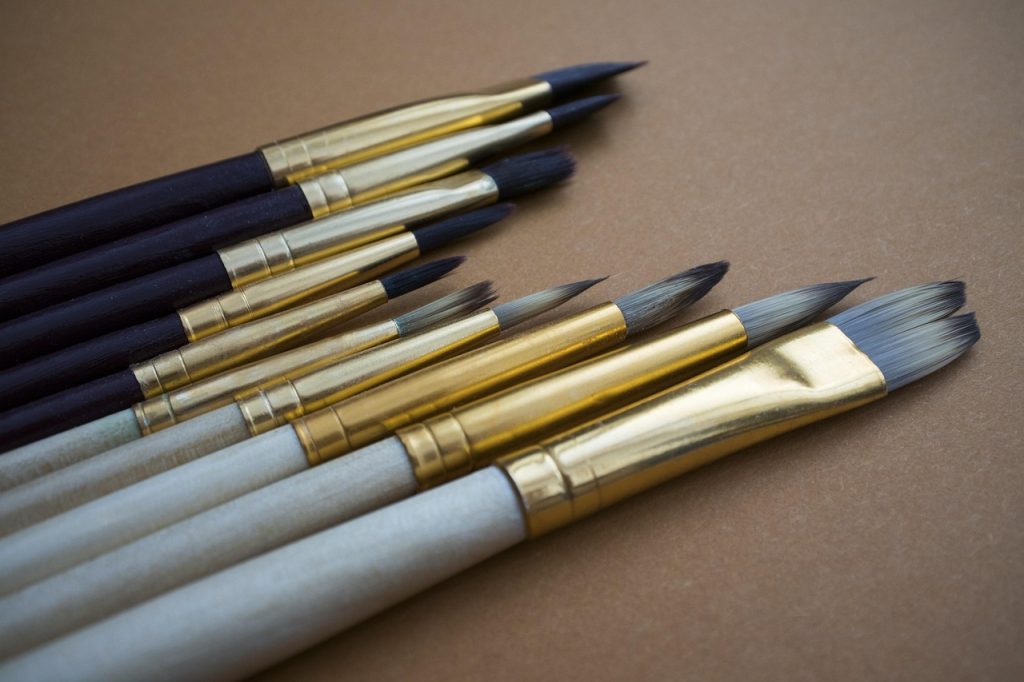
If you’ve ever opened a brush set and wondered what half of the tools are for, you’re not alone. This beginner’s guide to makeup brushes will help you understand the essential brushes you actually need, how to use them, and how to choose the right ones for flawless application. While makeup brushes are integral to achieving an airbrushed, professional finish, the wide variety available can feel overwhelming at first.
Makeup brushes are essential for achieving smooth blending, precise placement, and that airbrushed finish you see in tutorials. While using your fingers might work in a pinch, the right brush gives you better control, improved product payoff, and a more professional result. The good news? You don’t need every brush on the market—just the essential makeup brushes that match your routine, from basic to beautifully blended.
Essential Face Makeup Brushes for Beginners
When starting, focus on versatile face brushes that work with multiple products. These are the building blocks of any makeup kit.
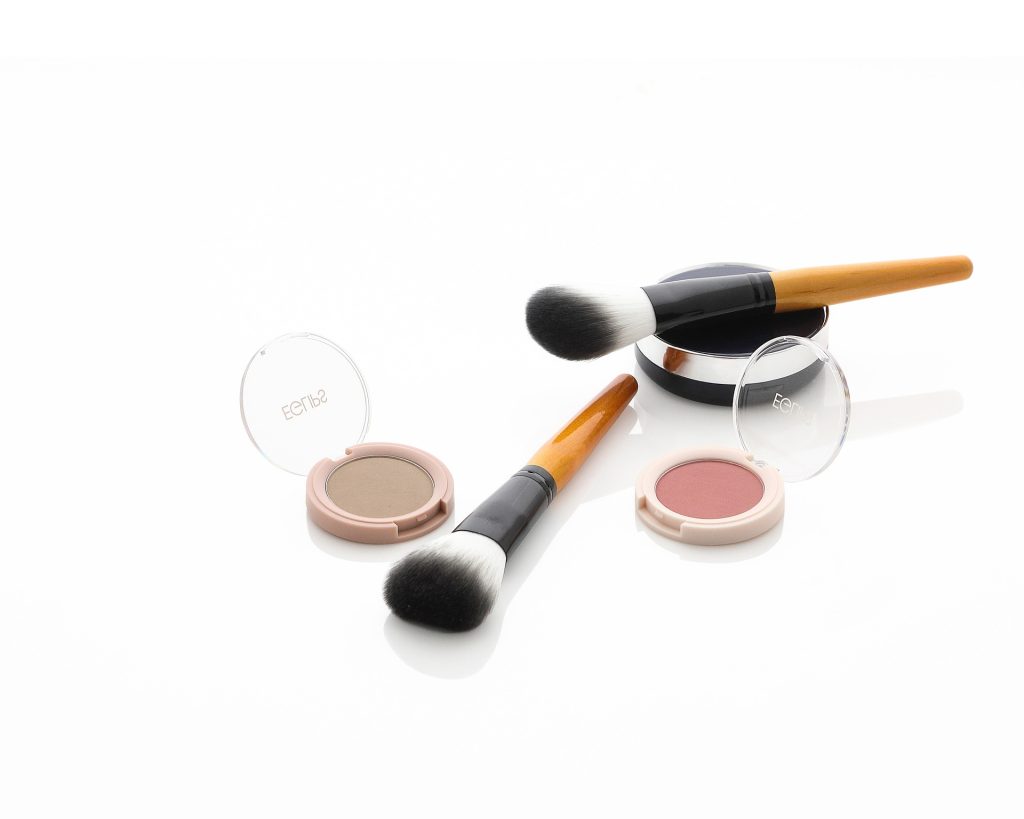
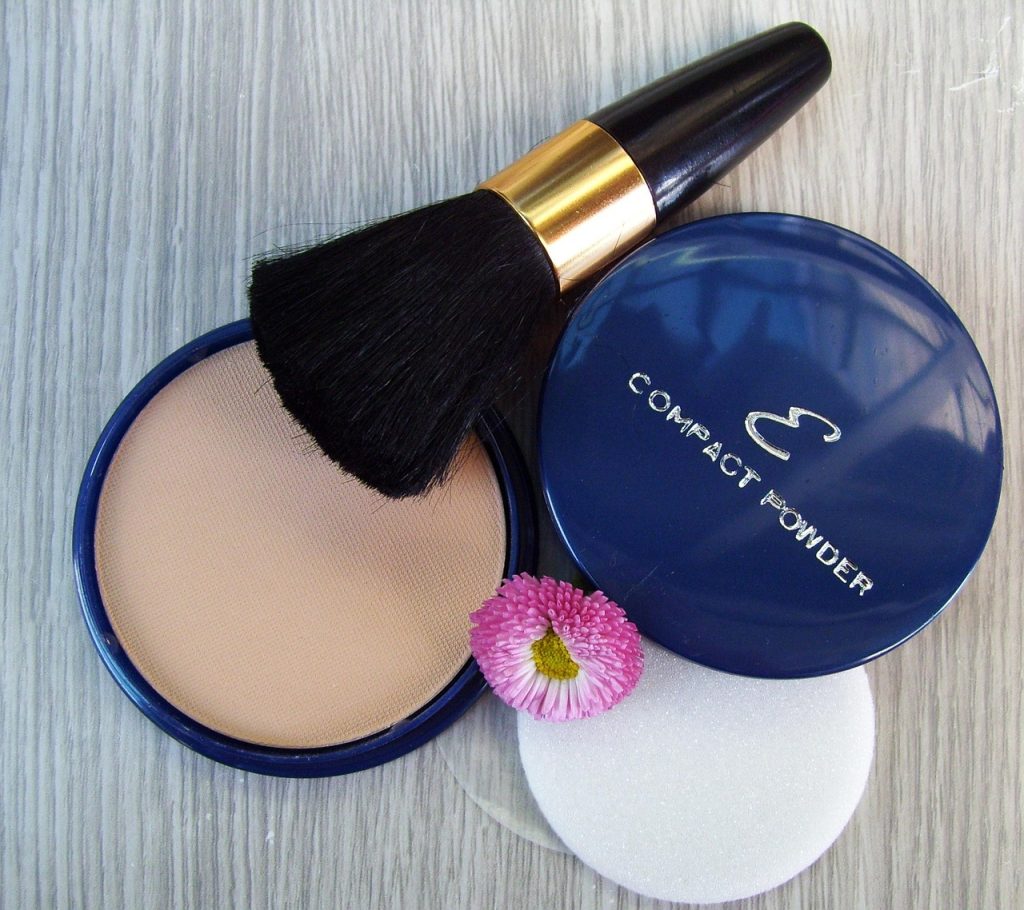
Powder Brush
A powder brush is typically large, fluffy, and full-fibered. It’s designed to gently dust loose or pressed powder across your face.
Best for:
- Setting foundation
- Applying mineral foundation
- Light blush application
- Finishing powder
How to use:
Swirl the brush into your powder, tap off excess, and apply in circular motions starting at the center of your face and working outward. This helps ensure even coverage without harsh lines.
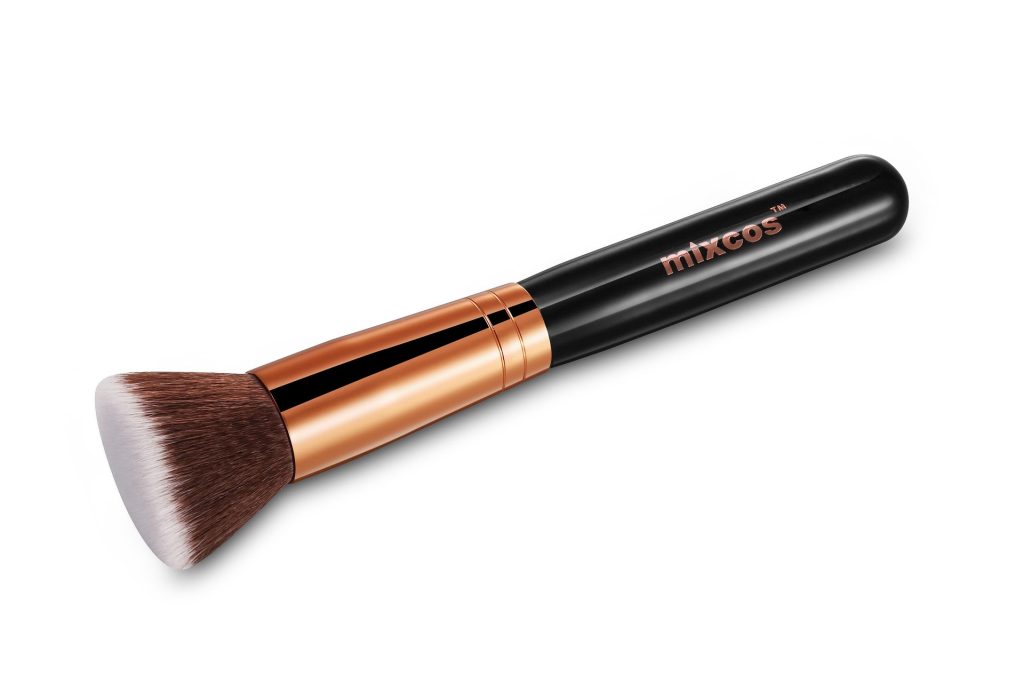
Tapered or Buffing Foundation Brush
Unlike flat foundation brushes, buffing brushes have a rounded, dense dome shape that helps blend product seamlessly into the skin.
Best for:
- Liquid foundation
- Cream blush or bronzer
- Highlighter blending
How to use:
Lightly dampen the brush if desired (squeeze out excess water), dip into product, and apply in even strokes or circular buffing motions. Start in the center of your face and blend outward for a natural finish.
Contour Brush
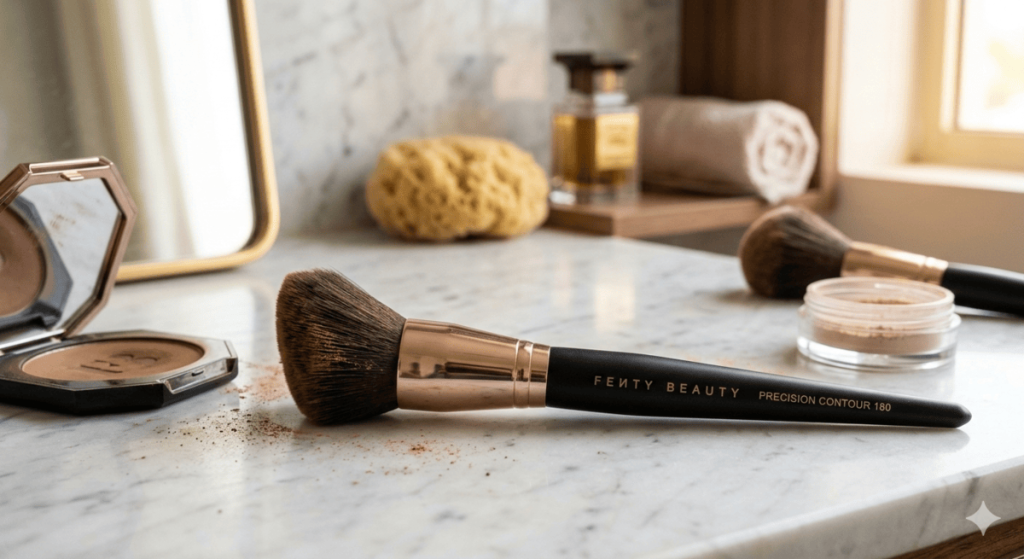
An angled contour brush helps sculpt and define your facial features.
Best for:
- Defining cheekbones
- Slimming jawline
- Shaping forehead
How to use:
Apply contour color under cheekbones, along the hairline, and the jawline. Blend thoroughly using circular motions with a fuller brush to avoid harsh streaks.
Beauty Sponge or Silicone Blender
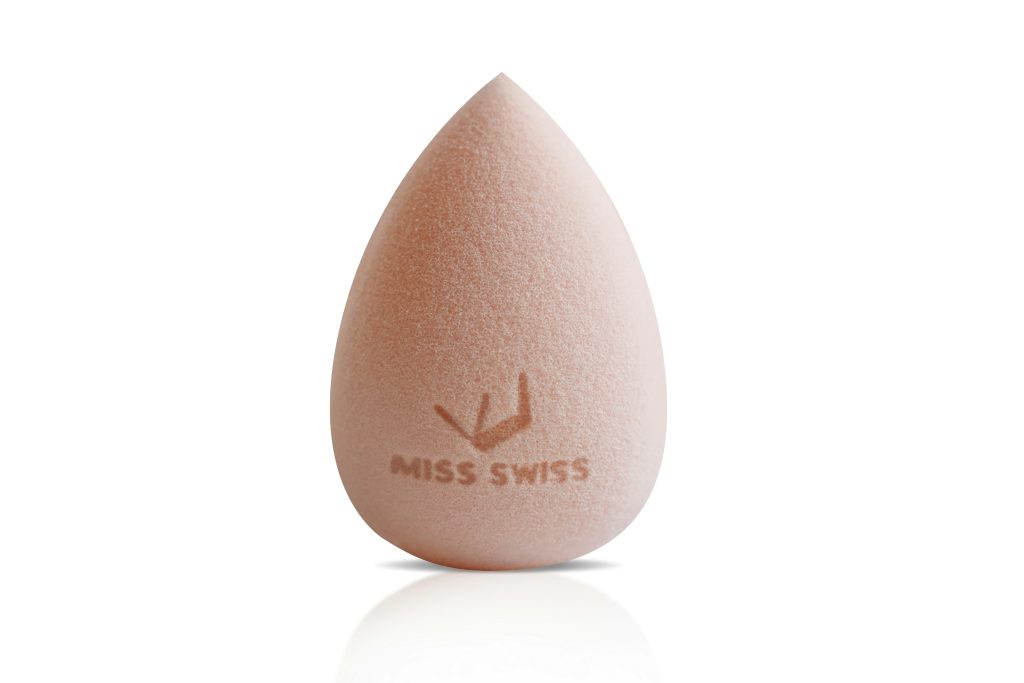
While not technically brushes, these tools are beginner favorites.
Beauty Sponge Best for:
- Foundation
- Concealer
- Cream blush or highlighter
Run under water, squeeze out excess, then apply makeup using dabbing motions.
Silicone Blender Best for:
- Liquid foundation
- Cream products
Because silicone doesn’t absorb product, it reduces waste. Use tapping motions rather than swirling.
Blush Brush
A blush brush is slightly smaller than a powder brush and is designed for more precise application.
Best for:
- Applying blush to cheeks
Use light pressure and blend outward from the apples of your cheeks to avoid overly pigmented spots.
Eye Makeup Brushes
Eye brushes help add depth, definition, and drama to your look. Even beginners only need a few core tools.
Eyeshadow Brush
A flat or slightly fluffy brush designed for applying base color to the eyelid.
Best for:
- Sweeping shadow across the lid
- Applying primer
- Packing pigment
Tap off excess shadow before applying to reduce fallout.
Eyeshadow Blending Brush
This fluffy, tapered brush helps diffuse harsh lines and create smooth transitions.
Best for:
- Blending crease color
- Softening smoky eyes
- Creating dimension
Use light sweeping motions for a seamless finish.
Angled Eyeshadow Brush
This brush allows more precision in detailed areas.
Best for:
- Smudging shadow along the lash line
- Defining the outer corner
- Crease contouring
It’s ideal for adding contrast and depth to eye looks.
Eyeliner Brush
A thin, precise brush for applying gel or cream eyeliner.
Best for:
- Creating cat-eyes
- Tightlining
- Lash line definition
Use small strokes or a dot-and-connect method for steady results.
Brow Brush or Eyebrow Duo Brush
Often double-sided with a spoolie and an angled brush.
Best for:
- Shaping brows
- Filling sparse areas
- Blending product
Brush brows upward with the spoolie first, then use short strokes with the angled side to fill in gaps.
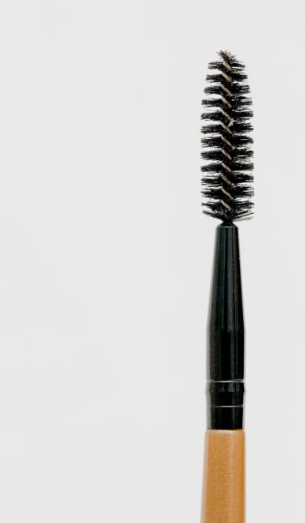
Mascara Wand (Spoolie)
Used to apply mascara or groom brows.
Pro Tip:
Wipe excess mascara off the wand before applying to prevent clumps. Clean spoolies can also be reused to brush through brows.
Lip Brush

A small, tapered brush designed to apply lipstick or gloss neatly. Lip brushes offer more control than traditional lipstick tubes.
Best for:
- Precise lipstick application
- Building color gradually
- Clean edges
Lip Liner Brush
Flat and precise, perfect for defining the lip line after applying lipstick.
Use it to smooth edges and perfect your shape.
How to Choose the Right Makeup Brush Set
Choosing a makeup brush set doesn’t have to be complicated. Look for:
- A powder brush
- A foundation or buffing brush
- A blush brush
- At least two eyeshadow brushes (flat + blending)
- A brow tool
Synthetic brushes are ideal for liquids and creams.
Natural bristles work well with powder products.
Quality matters more than quantity. Start small and expand as your skills grow.
Get the best quality makeup brushes from elf – Shop Now
How to Clean Makeup Brushes Properly
Dirty brushes can cause breakouts, irritation, and infections. Cleaning is essential.
Cleaning Steps
Step 1: Wet bristles (avoid soaking handles).
Step 2: Apply a gentle cleanser or brush cleaner.
Step 3: Swirl on a paper towel or cleaning mat.
Step 4: Rinse thoroughly until the water runs clear.
Step 4: Air dry flat to maintain shape.
Clean foundation brushes weekly, and powder brushes every 1–2 weeks.
Common Makeup Brush Mistakes Beginners Make
Even with the right tools, technique makes all the difference. Many beginners struggle with the application, not because they lack products, but because they’re unknowingly making small mistakes that affect the final look. Avoiding these common makeup brush mistakes will instantly improve your blending, coverage, and overall finish.
Using the Wrong Brush for the Product Type
Not all types of makeup brushes work with every formula. One of the most common beginner errors is mixing up brushes meant for powders with those designed for creams or liquids.
- Powder brushes and kabuki brushes work best with loose or pressed powders.
- Stippling or buffing brushes are better suited for liquid foundation and cream blush.
- Beauty sponges excel at blending liquid and cream products seamlessly.
Using a fluffy powder brush for liquid foundation, for example, can result in streaks and uneven coverage. Likewise, using a dense cream brush for powder can cause product buildup and patchiness.
Pro Tip: Match the density of the brush to the texture of the product—denser brushes for creams, fluffier brushes for powders.
Applying Too Much Pressure
Another frequent mistake in any beginner’s guide to makeup brushes is pressing too hard during application. Heavy pressure can:
- Leave harsh streaks
- Disturb the foundation underneath
- Cause patchy blending
- Irritate sensitive skin
Makeup brushes are designed to diffuse and blend product with light pressure. When applying powder or blush, use soft circular or sweeping motions. For the foundation, gentle buffing works better than pushing product into the skin aggressively.
Pro Tip: Hold your brush closer to the middle of the handle rather than near the bristles. This naturally reduces pressure and improves control.
Not Cleaning Brushes Regularly
Dirty brushes are one of the biggest culprits behind breakouts, clogged pores, and dull-looking makeup. Product buildup also makes blending more difficult and affects color payoff.
Foundation and concealer brushes should be cleaned at least once a week, while powder brushes can be cleaned every one to two weeks, depending on use.
Signs your brushes need cleaning:
- Bristles feel stiff
- Makeup applies unevenly
- Color appears muddy
- You notice skin irritation
Regular cleaning not only protects your skin but also extends the lifespan of your essential makeup brushes.
Not Blending Enough
Blending is what separates amateur makeup from a polished, professional finish. Beginners often stop blending too soon, leaving visible lines around the jawline, hairline, or crease.
Common areas that need extra blending:
- Along the jawline and neck
- Under the cheekbones (contour)
- Eyeshadow crease
- Around the nose
Using a clean blending brush to soften edges can make a dramatic difference. Remember, it’s easier to build color gradually than to fix harsh lines after they’ve set.
Pro Tip:
After finishing your makeup, take a clean, fluffy brush and lightly go over your entire face to ensure everything looks seamless.
Using Too Much Product at Once
Overloading your brush can lead to cakey makeup and uneven application. Beginners often dip directly into product without tapping off excess.
Instead:
- Pick up a small amount of product.
- Tap off excess.
- Build coverage gradually.
This technique gives you better control and creates a more natural finish.
FAQs
-
What Makeup Brushes Do Beginners Really Need?
A powder brush, foundation brush, blush brush, eyeshadow brush, blending brush, and brow tool cover most needs.
-
Can I Use a Blush Brush for Powder Foundation?
Yes, in a pinch. However, larger powder or kabuki brushes provide more even coverage.
-
Which Brush Is Best for Cream Products?
Stippling brushes, buffing brushes, and beauty sponges work best with creams and liquids.
Conclusion
Understanding the basics in this beginner’s guide to makeup brushes makes makeup less intimidating and far more enjoyable. The right tools provide better control, smoother blending, and a more polished finish.
Start with essential face and eye brushes, practice your blending techniques, and remember: it’s easier to build product gradually than to remove excess. With time and the right tools, you’ll be creating seamless, professional-looking makeup with confidence.

Leave a reply


 Fun times ahead … #lebronjames #lakers #lebron #lustremagazine00:19
- Oscar-winning #MichaelBJordan Congratulations!! #Sinners for winning Best Actor at the 2026 #Oscars00:56
- #Zendaya publicly shared “recovery plan” and its brilliantly low-effort #lustremagazine00:16
- #NickJonas is smooth 😍 #PriyankaChopra #couple00:10
- #AnnaWintour and #MirandaPriestly at the 2026 #Oscars00:14
- #tchalamet and @kyliejenner make their way into the #VFOscars party. Video by wengellg00:06
- #Oscar winner and #Sinners star #MichaelBJordan00:38
- #ElsaPataky #ChrisHemsworth #Oscars #celebritycouple #Oscars202600:08
- #tyla attends the #maisonvalentino AW26 show in Rome #DazedFashionTV #Valentino00:12
- Garmmy 2026 #justinbieber #hailybieber #grammy #lilbieber #lustremagazine00:29
- #zendaya understood the assignment. #tomholland #viral #trend #celebrity00:11
- #LeonardoDiCaprio has graced the #BAFTAs with a rare red-carpet appearance, wearing a #dior00:21
- #annehathaway at the #Balenciaga fashion show 2026 #ParisFashion Week on #thedevilwearsprada00:14
- #Ponytail is back! #ArianaGrande looks gorgeous at the 2026 🎥: ginainterrupted #GoldenGlobes.00:20
- #SHAQ forgot that he bought two Escalades 😅01:14
- #therock and #KevinHart doing the #TortillaChallenge is the funniest thing we’ve seen all week!01:00
- #Oscar Throwbacks, #EmmaStone accepting her second Academy Award (in a broken dress!)01:41
- #Bridgerton cast and crew singing ‘Happy Birthday’ for #Yerin #bridgertonseason400:16
- Inside #queencharlotte wig #bridgerton #bridgertonseason400:08
- #zendaya at the #louisvuitton AW26 #lustremagazine00:17
- #shaq on set for #gravesendseries #shaq #brooklyn #onset #basketball #gangster #epic00:13
- #zendaya dazzling in white at #louisvuitton’s fall/winter #ParisFashionWeek show #lustremagazine00:17
- #shaq #queenlatifah at a NBA playoffs game #shaquilleoneal #nbaplayoffs00:16
- #johnlithgow #albusdumbledore #harrypotter #celebrity00:12
- #sbiff awardees #jacobelordi #wagnermoura #teyanataylor #wunmimosaku #ingalilleaas #sydneysweeney00:07